How do I integrate Salesforce?
Easily Integrate Salesforce into GivingDNA to import your data and have it update automatically
- Navigate to the Integrations section in GivingDNA
- Choose Salesforce
- Login to Salesforce and provide your Security Token
- Map the desired fields
- Click "Save", you're done!
1. Navigate to the Integrations section in GivingDNA - Click on the Menu button in the top right and then click "Integrations"

2. Choose Salesforce - Click "New Integration" button and then click "Salesforce"

3. Login to Salesforce and provide your Security Token - You can find your Security Token under Setup > Personal Setup > My Personal Information >Reset My Security Token.
*If you are on NGO Connect, click on your name at the top of the page > My Settings > My Personal > Reset My Security Token (it's on the left hand side)

4. Map the desired fields - Choose the fields in Salesforce that match to GivingDNA. First you will map the fields for Constituents and then you will want to click "Giving Integration Sync" to do it for giving files (see second image)
- GivingDNA identifies insights on your constituents at the Individual level, not Household. When mapping to the GivingDNA Donor ID field be sure to select the Contact ID field you use in Salesforce.
- Additionally, all gifts in Salesforce have stages. Once the integration has been set up, GivingDNA engineers will add the gift stage, along with any other custom fields from the gift and contacts objects a user would like.
- Similarly when setting up the "Giving Integration Sync", you will want to map gifts back to the same Contact ID field selected when setting up the "Constituents Integration Sync". This will align the constituents with gifts in GivingDNA.


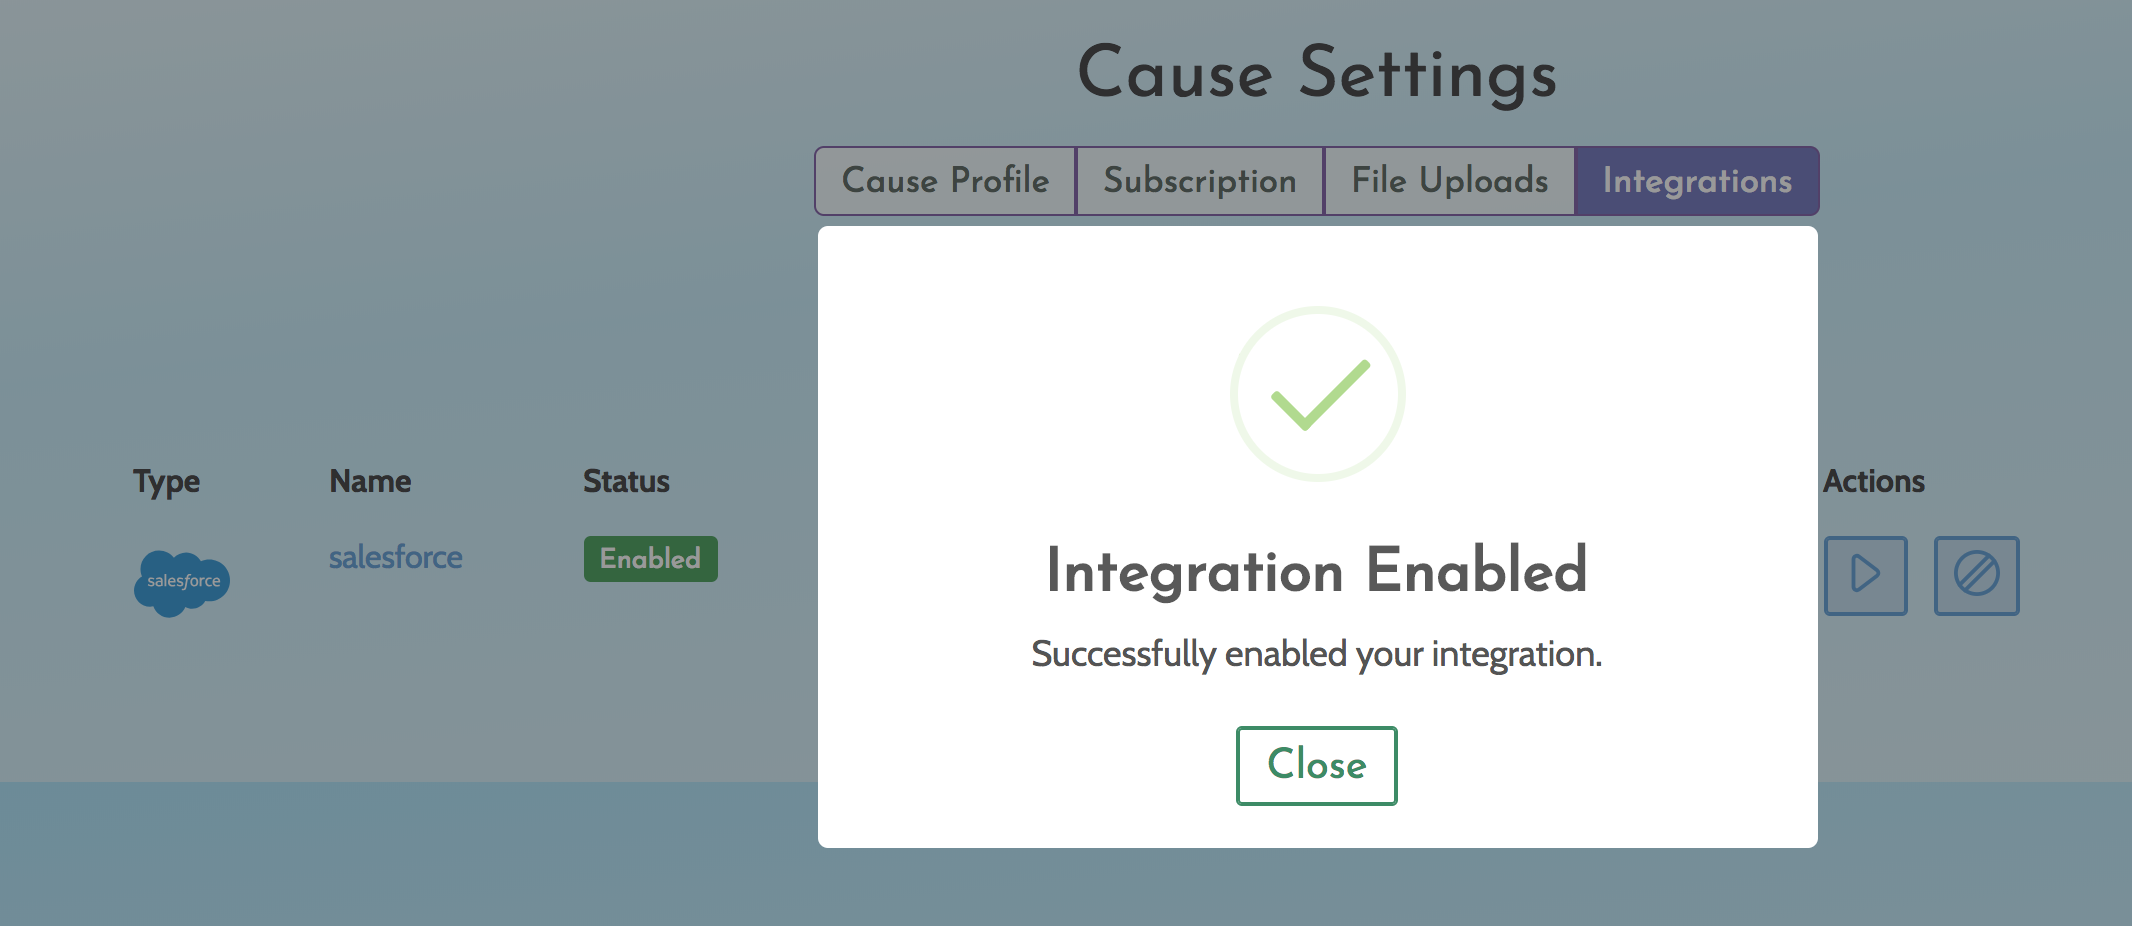
5. Click "Save", you're done! You are now all setup with the Salesforce Integration. This will automatically update each weekend. You can also manually update it by click the blue "Play" button to run the integration.
